Monday, November 25, 2024

Sentimental Christmas Sweet Treats!


 I showed a holiday treats last week on Facebook Live from my November Stamp Club Projects, Using these Lindt snowman or Teddy Bear Chocolates . The dimensions as well as step by step pictures are shown below, but please check out the video starting at the 59 minute mark for complete video instructions ..Click Here to Watch 


Supplies & Measurements:

  • Basic Beige CS 2″ x 6″, scored at 3 1/4″, 4 1/4″ and 4 3/4″
  • Sentimental Christmas Designer Series Paper 1 7/8″ x 2 7/8″
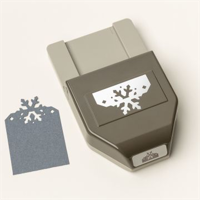
  • Snowflake Topper Punch
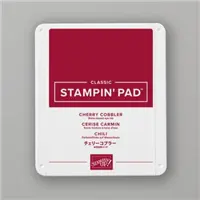
  • Cherry Cobbler Gold Edged Ribbon
  • Peaceful Season Stamp Set
  • Drusy Gold and Silver Embellishments


Step 1:  Score your 2 x 6 cardstock at 3 1/4 , 4 1/4 and 4 3/4 and then punch the snowflake topper punch 


Step 2:   Add the DSP onto the scored area as shown


Step 3:  Fold on score marks and then the DSP also gets folded at the end of the cardstock


Step 4:  For placement of the 1" circle punch or die...punch a circle template from typing or grid paper.  Place it with a bit of tape where you want your circle to be and using the punch upside down...punch out your circle.  


Step 5:  This is what it should look like.


Step 6:  Add tape of the back of the DSP and place bear or snowman through the circle ...he fits in there very snug!!  (I had a bit of technical difficulties with my circle punch on the video...but this is what he should look like in the pic below!)


Step7:  Adhere DSP just under snowflake punch out


And here is a side view!  

Finish and decorate as shown in the photos at the top of the blog post!   They are super fun to make and to give!!


until next time...take care and happy stamping!!

Love, Renee 💖 

If there is anything you would like to order...click on any of the pictures below and it will take you straight to my store.  And as always...thank you for your orders!!   I truly appreciate it!😊


Sunday, November 24, 2024

Christmas Friends

 Looking for some quick and easy last minute Christmas cards...well I have some for you in the next few upcoming posts.  

Todays comes from Christmas Friends...these sweet little fluffy animals make for a darling card!

To see the video direction Click Here! and start at the 19.20 minute mark


Using Night a Navy as a background on Basic Beige...(my favorite neutral)

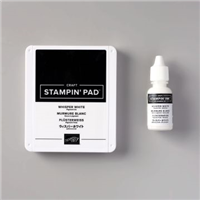
Stamp the Falling Snow large background stamp in White Craft Ink...it is striking on the Night of Navy for a beautiful night sky.

Add a torn Basic White snow hill to the base of the card...and stamp your greeting.


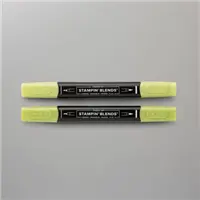
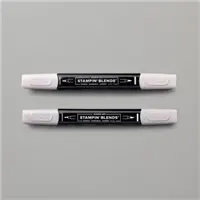
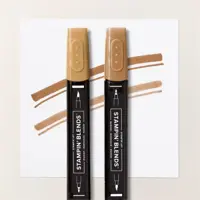
Stamp your moose, polar bear or other favorite creature in Memento Black Ink and color in with Stampin Blends

Add some Snowflake Embellishments with Mono Glue if you have them...unfortunately these embellishments are sold out.  


In this card...I used Summer Splash for more a daytime polar look.  This card is fun in any blue color!!


And don't forget the inside of the card with that sweet little tree.  


until next time...take care and happy stamping!!

Love, Renee 💖 

If there is anything you would like to order...click on any of the pictures below and it will take you straight to my store.  And as always...thank you for your orders!!   I truly appreciate it!😊


Please use the Hostess Code XXWDF4NH

when ordering under $150 ...If you order over $150...take the Hostess Rewards for yourself!!

Take care and Happy Stamping!
Renee Kohnke
Independent Stampin' Up! Demonstrator


Saturday, November 23, 2024

Paper Pumpkin - Filled with Joy!

 Last week on Facebook Live I introduced my Paper Pumpkin Alternative Projects for the month of November Filled with Joy!   To see everything we created...and there is alot of ideas...watch the Facebook Live here!  Filled With Joy - Alternative Projects!

This is how the were created to be....


And this is what I made just by adding a few extra touches...(not only did I make decorated stockings...but make sure to check out the cards below...)


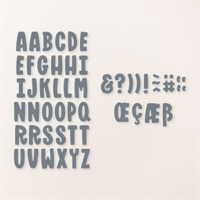
So starting with a pencil eraser and a Real Red Ink Pad...add some whimsical polka dots!!  And a bit of pompom trim I had in the house adds a fun element.  Using the Mini Alphabet Dies is a great way to personalize each stock!...Now for the fun part...filling them...make sure to watch the video for even more ideas to fill and where to find the fun stocking stuffers! Filled With Joy!


Makes a great...personalized table setting!


Or how about a JOY banner...great gift for St Nick!


Fill them with fun and yummy goodies!


There are even more ideas in the video


But I think the cards are my favorite....


Shaded Spruce

Using the Forever Plaid Textured Embossing Folder...Drusy Embellishments and all sorts of pretty Ribbons...make for a darling window card


Poppy Parade


Pool Party...the picture doesn't do this super fun card justice!


And here is a Sneak Peak at December's Paper Pumpkin!

Notes From The Heart: Create cards with hand-sketched botanical designs! Makes 9 cards: 3 of 3 designs. The kit also includes precut vellum pieces, sparkling gems, hand-drawn designs, and card bases with scalloped edges. Coordinating colors: Blackberry Bliss (Classic Stampin’ Spot), Flirty Flamingo, Old Olive, Pecan Pie, Pretty in Pink, Very Vanilla.  And don’t miss the special add-on that coordinates with all three months: the Merry Tags & More Dies (#165639) — made available September 11th and only while supplies last!


Any questions....don't hesitate to ask!! I am always happy to help!!


Happy Stamping!!💓


Click Here to Join our Team today! 


Check out my Water City Stamping  Facebook Live for a weekly Stamp Therapy!!  
Water City Stamping Facebook Page

Thank you so much for your online orders!  I truly appreciate it! 

Click here to shop now!!  

And don't forget to join my Water City Stamping V.I.S. (Very Important Stamper!) Facebook Group for more creative ideas, specials and current updates!!  CLICK HERE TO JOIN!


Take care and Happy Stamping!
Renee Kohnke
Independent Stampin' Up! Demonstrator
SHOP: www.reneekohnke.stampinup.net
BLOG: www.watercitystamping.blogspot.com
FACEBOOK: https://www.facebook.com/Water-City-Stamping