UPDATE: THERE ARE STILL A FEW KITS AVAILABLE...EMAIL ME TO GET YOURS TODAY!!
|
I
am so excited to share this with you!! Now that we are not able to meet in
person...I am starting a program that will bring you my
|

CLASSES
TO GO!!
What
can you expect:
*CLASS TO GO is $30 per month (if you are local) $38 if
you need it shipped.
* Each CLASS TO GO
will include $20 to $25 of Stampin' Up! product you will need to make your
projects.
* You will be able to make 6
cards/projects with a kit made for you each month. Each month projects may
vary...for example one month may have 3 card designs -2 of each design or it may
have 5 different cards with 1 3-D project.
* When the Kits are ready a Tutorial
with all supplies used, measurements, and directions will be emailed to all
participants.
** As a Special Perk you will be able
to purchase additional specified Stampin' Up! product at a
discounted rate. (ex. Stamp set /bundle etc)
* One Facebook Friday each month will
highlight the kit and
show/demo 3 of the projects.... Around the 20th of each
month. Orders for the kit will be taken until the 28th of the month and kits
with tutorials will be shipped out within a week to 10 days of last order
date.
* You can order 1 at a time ....and you can start at
anytime...BUT..
* * If you purchase 6 months in
a row...you will receive your choice $25 FREE Stampin' Up!
Product!! (this cannot be combined with any other offer).
I
am super excited to start this new program starting now...
Aprils
Tropical Oasis Memories and
More Class To Go!
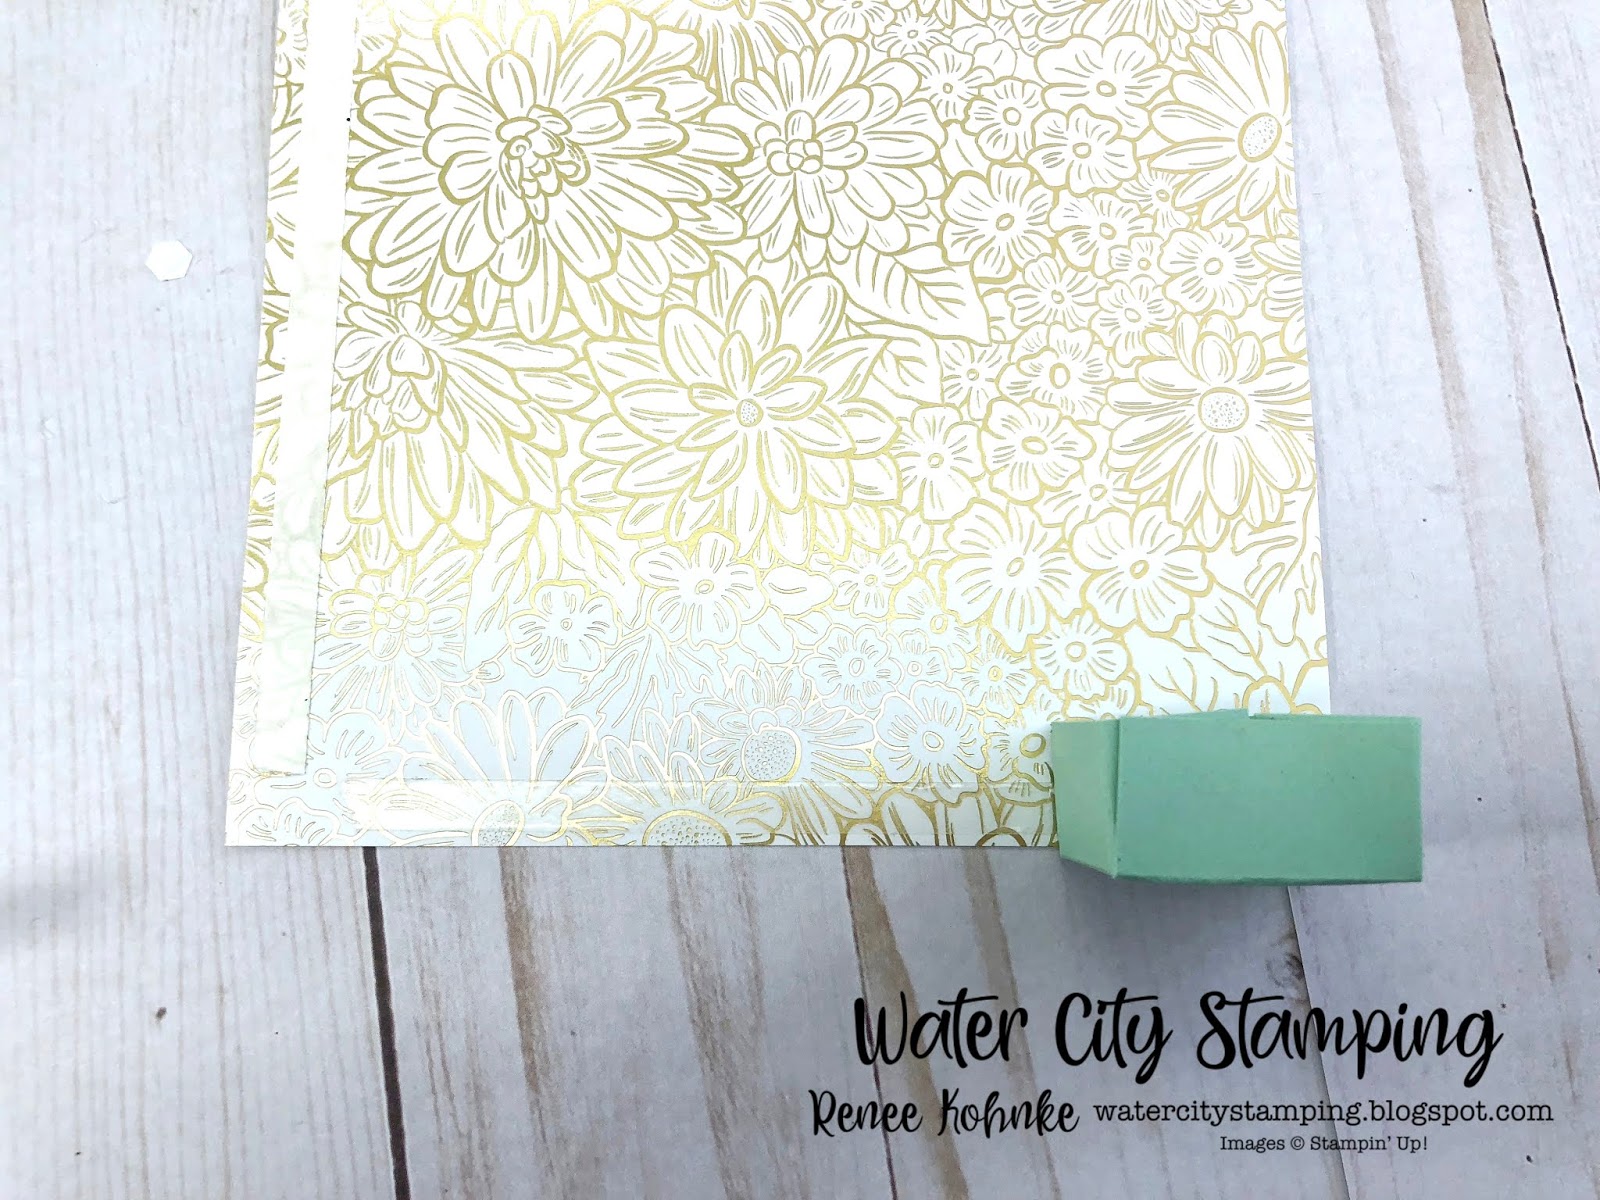
Here
are the 3 projects from Aprils Class To Go I
demonstrated on last Fridays Facebook Live (April 24th) There is a sneak peek of
the other projects you will get to make on the video!!
CLICK HERE TO VIEW! the video.
  
These are just 3 of the 6 projects in April's CLASS TO
GO!
You will get everything you need to make all 6 projects with the
tutorials and $20 + in FREE product. As an added extra this month you will
receive TWO more bonus projects on the tutorial!!
WOOHOO!
And this month's add on purchase is the
Tropical Oasis Bundle offered at cost...$52 pay no shipping or
tax...that is an extra 15% savings!! (bundle must be added at time of ordering
class)
This months Kit is limited ...so email me today
(oneredk@milwpc.com) to order . Paypal or credit card accepted.
Any questions...don't hesitate to ask!!
until next time...take care , stay safe and happy stamping,
Love,
Renee💕
|