Thursday, December 31, 2020

A Paper Pumpkin Thing - Beary Comforting!


Welcome to A Paper Pumpkin Thing Blog Hop!   December's Paper Pumpkin is a sweet kit called Beary Comforting...it contains 12 card fronts which perfect for a thinking of you or get well card.  

But this blog hop is for alternative projects and here are mine! For video direction watch my Facebook Live  HERE

Right away I knew I wanted to pull out some brand new product form the upcoming Occasions Catalog Suite called Love You Always!   The sweet black and white polka dot DSP is called True Love...and is all black and white...LOVE IT!!  It is accented with Blushing Bride Metallic Ribbon.  


Add the sweet Koala duo holding a Rococo Rose Daisy...3 daisies punched from the Medium Daisy Punch.  The center is punched from the Love You Always Foil Sheets with 1/2 " Circle Punch  and Matte Black Dot Embellishments finish off the center. Using one of the Gold Foil Banners from the Kit ...add the Hooray greeting and use for a birthday , graduation or any other celebration!


Measurements :
Basic Black CS 51/2 x 8 1/2
Rococo Rose 3 7/8 x 5 1/8
True Love DSP 3 3/4 x 5


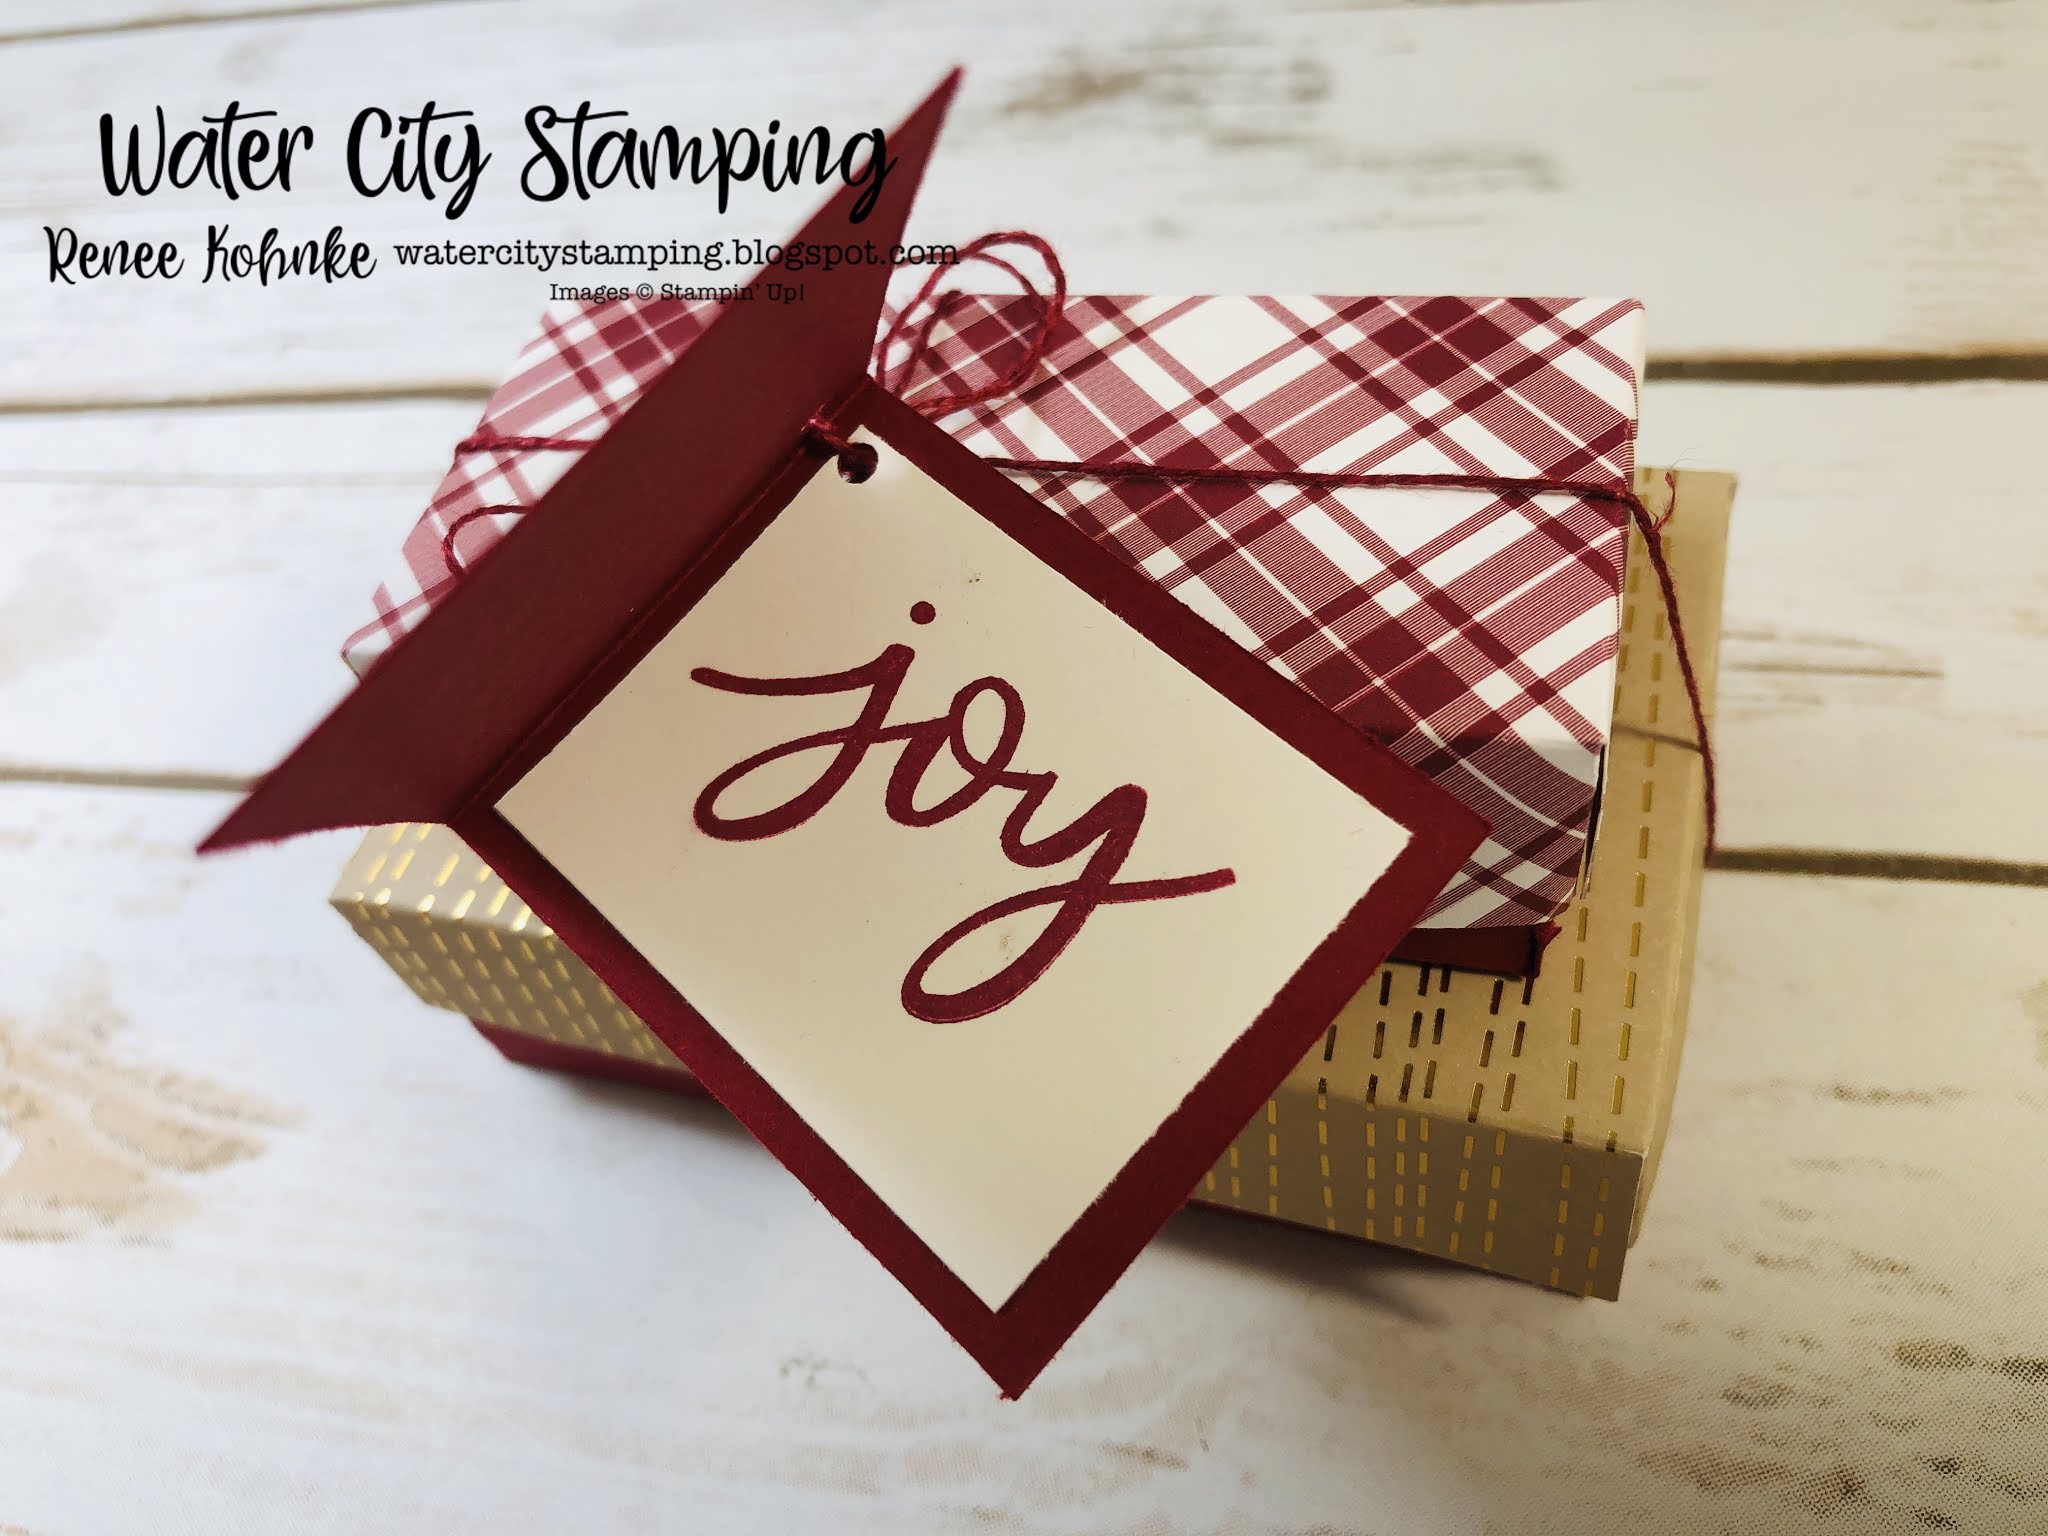
Next I made a 3 x 3 Acetate Box...perfect for treats. gift card or sweet little gift cards.


Once again I used the True Love DSP 9" x 3 " adhered around the box.  Take a Bear die cut and add a heart punched from the Love You Always Foil Sheets and the Heart Punch.  Tied off with more Blushing Bride Metallic Ribbon.  And finally using one of the gold foiled banners from the Paper Pumpkin...add a greeting the the soon to be retired Little Treats Stamp set.

Fill with sweets and fun!


The next two cards are using the beautiful gold foil cards found in the kit.   I cut down the card to a card front ...measuring 4 x 5 1/4 .  Adhered it to a Very Vanilla Card base  measuring 5 1/2 x 8 1/2 folded in half.   


Punch a 1 1/2 " circle into the two layers .  Add a Gold Foil frame made with a circle punched from Gold Foil again with a 1 1/2 " Circle Punch.   Around that punch a 1 3/4 " punch creating a frame.  Adhere to the circle punch frame to  the front of the card around the punched circle.  .  Please refer to the Facebook Live Replay HERE! for more direction.   Tie a Gold Metallic Vanilla Ribbon around the edge and add your Get Well greeting from the Beary Comforting Stamp Set.


Using your Brush Markers from the Rich Razzleberry and Calypso Coral Stampin' Write markers...ink up the bouquet stamp from the kit and add to the inside of the card. 


Add a 3/8 " strip cut from the remaining Razzleberry card for an anchoring strip on the inside of the card.  

The photos don't do this pretty card justice!


Here is the same layout only in the Calypso Coral color.

I don't know which one I like better!!


Add a few Gold Gems to the card for a bit of sparkle.


Now it is time to see what the other awesome demonstrators have created. Keep reading below to see how you can subscribe to Paper Pumpkin...and now is the very BEST time of year...read below why!!

Happy Hopping!!
Until next time....Take care and happy stamping!

Love, Renee


Here is the upcoming Paper Pumpkin for January.....CLICK HERE TO SUBSCRIBE!


Or if you would like a prepaid subscription AND to earn FREE Salebration Items...order a 3, 6 or 12 month subscription starting January 5th and get FREE Stamps or Paper!!  WOOHOO!!  Win! Win!!

CLICK HERE TO SHOP PAPER PUMPKIN!!

And as always thank you for choosing me as your demonstrator!!!  Please use the Hostess Code YKMQM3QH when ordering under $150 ...If you order over $150...take the Hostess Rewards for yourself!!


Sunday, December 20, 2020

Creative Inking Blog Hop - Good Bye 2020 - Hello 2021!


So our theme this month Goodbye 2020...or should I say Good Riddance 2020 and Hello 2021!!!
So right away I knew I wanted to show one of the many AWESOME Saleabration products we will be offering starting January 5!!   One of my absolute favorite FREEBIES is Flower and Field Designer Series Paper!  This DSP will be one of several FREE products with a $50 order...What a better way to bring in the New Year!


So here is a sweet Bridge Card made with this lovely DSP.  Continue to read below for measurements and instructions.  


With the addition of a coordinating daisy made with the large and medium Daisy Punches.  


The greeting came from a brand new bundle in the brand new Occasions Catalog which also comes out January 5th!   It is called Many Messages Bundle!   Check back in early January for more info about this awesome bundle!!


So to make this Fun-Fold Card....
1.  Cut a 4 1/4” X 8” piece of Basic Black Cardstock. Score the long side at 1 1/4”, 2 1/2”, 5 1/2” and 6 3/4”. 
2. Cut the following from  the Flower and Field DSP  two 1 1/8” X 4 1/8” and one 4 1/8” X 2 7/8. 
 3. Adhere the two skinny pieces to the outside panels and the larger piece to the center panel. 
4. Cut two more 1 1/8” X 4 1/8” pieces of Acetate and adhere to the two inside panels with Stampin’ Seal. 
5. Adhere a 1 1/8” X 5 3/8” piece of DSP to a 1 1/4” X 5 1/2” piece of Pool Party Cardstock. Adhere it as a bridge across the two front panels. 
6. Punch 3 large Daisy Punches' in Whisper White...glue together.  Punch 3 Medium Daisy Punches in Whisper White add to daisy.
7.  Using a Sponge Dauber and sponge Pool Party ink onto the center. Add a Quarter Inch punch in So Saffron CS.
8.  Add greeting from Many Messages
9.  Add a Whisper White piece of CS 2 7/8 x 4 1/8 to the back of the card...you can add your thoughts and sign your card here.  


And don't forget to use the DSP to make a lovely coordinating envelope!!


Now it is time to check out what Barb has created.  


or if you missed it ...go back and see Diane has made.  


And as always...thank you for stopping by my blog today!!   Check back January 5th to order these awesome new products!!  

Until then....take care and Happy Stamping!!

Love, Reneeđź’“


Thursday, December 3, 2020

A Paper Pumpkin Thing Blog Hop - Jolly Gingerbread


Welcome to A Paper Pumpkin Thing Blog Hop - Jolly Gingerbread!   What a fun Paper Pumpkin this month!!  It was super fun to create some alternative projects this month.   And here are mine...


Since Cinnamon Cider is one of my favorite new In Colors ever...I was excited to pull out my Designer Series Designer 6x 6 paper to coordinate and make a full size card/ gift card holder.  I wanted to make this card full size to coordinate and actually hold the gift card!


And what is gingerbread house without snow!!


Check out my Facebook Live  HERE to see how to create this full sized card/ gift card holder with directions.


Starting  a base card of Blushing Bride . fold in half and cut 3 " off the front of the card.  Add some snow hills and nestle your gingerbread gift card holder in the snow.  On the inside of the card...add a layered piece with Cinnamon Cider CS and Cinnamon Cider DSP.  Don't forget a small piece of Whisper White for an added greeting.


Wrap a piece of Mint Macron Woven Ribbon around the gift card for easy pull out of the gift card.  so cute!


                                                    Next ...how about a treat box / gift box!!


Check out this fun cutie...by just take two gingerbread houses and adhering the tabs together and you have a gift box or treat box!!  Stamp and embellish as you wish!


Add a Printed 3 x 3 Cello Bag filled with yummies of your choice.  


Tie with a Gingham Ribbon and using the labels ...just add a name and one of those adorable candy embellishments!!


Or using the tissue from the Paper Pumpkin...add a sweet gift to the box.

Makes for a adorable place setting decoration!!


I hope you have enjoyed my alternative projects....


now it is time to check out the rest!!
Happy Hopping!!


until next time....Happy Stamping!!

Love, Renee  đź’“

Click Here to Join our Team today! 

Check out my Facebook Fridays for a weekly Stamp Therapy!!  Every Friday Morning at 11am CST at my page Water City Stamping Facebook Page

Thank you so much for your online orders!  I truly appreciate it!   Please use the December  Hostess Code  PF9U6QTA .  

And don't forget to join my Water City Stamping V.I.S. (Very Important Stamper!) Facebook Group for more creative ideas, specials and current updates!!  CLICK HERE TO JOIN!


Friday, November 27, 2020

My Adhesive Sale!! One Week Only!!


My "Black Friday" Special.....1 week only!!
3STAMPIN' UP! ADHESIVE & ENVELOPE SALE!
30% OFF!!
AVAILABLE ONLY THRU RENEE KOHNKE
A
TAKE ADVANTAGE OF THIS 1 WEEK ONLY SALE!!
 
  • Sale is one week only November 27 - December 4th 2020 and only offered thru me RENEE KOHNKE (email : oneredk@milwpc.com )

  • 30% of any combination of Adhesives or Envelopes. Minimum combination of 10 must be purchased to get the sale price!

  • Hostess Rewards can apply with a $150 or more order....other Annual Catalog or Holiday Catalog items may be added to your order at regular price.


ADHESIVES*

SEAL REFILL – #152814 – Regular $5.50 each, SALE $3.85

SEAL CASE – #152813 – Regular $8.00 each, SALE $5.60

SEAL PLUS REFILL – #152812- Regular $8.00 each, SALE $5.60

SEAL PLUS CASE – #149699- Regular $12.00 each, SALE $8.40

MINI GLUE DOTS – #103683 – Regular $5.25 each, SALE $3.68

DIMENSIONALS – #104430 – Regular $4.00 each, SALE $2.80

BLACK DIMENSIONALS – #150893 – Regular $6.00 each, SALE $4.20

MINI DIMENSIONALS – #144108 – Regular $4.00 each, SALE $2.80

TEAR & TAPE – #138995 – Regular $7.00 each, SALE $4.90

MULTIPURPOSE GLUE – #110755 – Regular $4.00 each, SALE $2.80

FINE TIP GLUE PEN – #138309 – Regular $7.00 each, SALE $4.90

FOAM STRIPS – #141825 – Regular $8.00 each, SALE $5.60

ADHESIVE SHEETS – #152334 – Regular $10 each, SALE $7.00

FOAM ADHESIVE SHEETS – #152815- Regular $8.00 each, SALE $5.60

ENVELOPES*

MEDIUM WHITE – #107301 – Regular $7.50 each, SALE $5.25

MEDIUM VANILLA – #107300 – Regular $7.50 each, SALE $5.25

MEDIUM CLEAR – #102619 – Regular $6.00 each, SALE $4.20

WHISPER WHITE 3" X 3"- #145829 -Regular $10.00 each SALE $7.00


*Minimum purchase of 10 or more can be any combination of adhesives/envelopes!

(Low Inventory on Multipurpose Glue, Foam Adhesive Strips and Mini Dimensionals)
STOCK YOUR STASH AND SAVE

  • All payments must be received by December 4th at 10 PM CST. 
  •  Visa/MasterCard/Discover accepted
  • Offer good only thru Renee Kohnke, Stampin’ Up! Demonstrator
  • Offer is only available by emailing me at oneredk@milwpc.com
  • Cannot be combined or used with any online order, class, club order or rewards points !

Tax and Shipping are extra, please include your tax rate and address with response. (minimum $6.95 shipping)

 A confirmation email with your total due will be sent to you within 24 hours with my phone number to call with your credit card information. (if you don't hear from me...please email again ...during this busy season..emails can lost in cyber space lol! )

Each order will ship direct to you from Stampin’ Up! United States only.

This special is a small way I can thank you all of you who have shopped or have chosen me as your demonstrator!!
I truly appreciate all of you!!!


Any questions...don't hesitate to ask!!


Happy Stamping!!
Love , Renee

Thursday, October 29, 2020

A Paper Pumpkin Thing Blog Hop -Joy to the World


Hi Everyone!!   Welcome to A Paper Pumpkin Thing Blog Hop!   This month's Paper Pumpkin is called Joy To The World...and it is beautiful!!   I LOVE flowers at Christmas!
  

Here is everything you get in this awesome kit!            

Enough supplies to make 8 cards with coordinating envelopes seen in the next two pictures below.  


Beautiful flowers and wreathes....embellished with Brass Foil die cut words...AND they are in different languages...hence "Joy To The World!"


But this Blog Hop is here to show you "alternative projects " you can make with your kit and perhaps a few other supplies you may already have!  So right away...I knew what I wanted to do...pull out my Plaid Tidings Designer Series Paper and my Holiday Rhinestones!  


Nothing I love more than plaid and flowers....so I chose a lovely Cherry Cobbler Plaid and started my card.


Fold your main card base in half and cut 1" off the bottom.  Add 1 1/4 x 5 7/8 " of Plaid DSP to the inside of your card.   To the front...add a 3/4 x 5 7/8 " strip of Cherry Cobbler cardstock.   Use the Peace foil diecut and add that to the front of the card.    


So for the flower...I took two flowers and cut some of the smaller flowers from on and popped it up to the other.   Notice on the center flower and flower bud.   Add some Holiday Rhinestones and a double tied Cherry Cobbler thread bow.  


Don't forget the inside...love the font in the Joy To The World Stamps!!


Next...here is another alternative project....again using the Plaid Tidings DSP along with some extra Cherry Cobbler Cardstock.  So for this card....I cut the main card in half and using the backside for the Crumb Cake Layer.  Save that front piece for the next project!! Stamp the wreath in Just Jade Ink and add some Holiday Rhinestones and a thread bow!


Here is the same card...only in black plaid...I just love the Black/Jade/Cherry Cobbler combo!


Don't forget the inside.....


And for our final project today...

.......how about a small stack of boxes...remember that card front we cut off...well that is the top cover of the the bottom box.  The measurements for the Crumb Cake Top 5 7/8 x 4"  Score at 3/4 " on all four sides.   The Cherry Cobbler Cardstock bottom is 6 3/4 x 5" Score at 1 1/4"  on all four sides. 

Cut at the tabs and form your box. 


And for the tag....  cut a 2 x 1 3/4 Whisper White tag ...stamp the flower with Memento Black Ink and color in with Cherry Cobbler and Just Jade Stampin  Blends. 
 Add to a 4 x 1 3/4 "  folded piece of Cherry Cobbler CS.  Don't forget the bling!!!

Now... for the smaller plaid box...the measurements for the plaid are 5 1/8 x 3 1/8" and score at 3/4" on all 4 sides.   The Cherry Cobbler measures 5 1/4 x 3 3/4 " and score at 1" on all four sides.  


Cut at the tabs and form your box.  Time to fill with treats , gift cards or whatever you wish!!


Add a bit of  Joy to the inside of your tag.


So I hope you have enjoyed my alternative projects today....It was hard not to keep going!!  

Now it is time to see what the other super talented demonstrators have created for you today.  


Check out my previous Blog Post  HERE! to see what Paper Pumpkin has in store for you in November and how you can  subscribe today!!

until next time....Take Care and Happy Stamping!!

Love, Reneeđź’—